Short answer
Professional rodent droppings remediation usually moves through inspection, trapping, exclusion of entry points, ventilation and setup, wet cleanup of droppings and nests, removal of soiled insulation if needed, disinfection and deodorizing, and a final check. The order matters: sealing gaps before new insulation goes in prevents reinfestation. Expect crews in respirators and coveralls, and expect to stay out of the work area while they clean.
The first inspection
Most rodent jobs begin with an inspection. A technician will look at the areas where you have seen droppings or heard activity, and then widen the search. Attics, crawlspaces, garages, basements, kitchens, and utility rooms are common places to check. They look for droppings, urine staining, nests, gnaw marks, grease rub marks along walls, and dead rodents.
The inspection also covers the outside of the house. Technicians walk the perimeter looking for entry points: gaps around pipes and wires, damaged vent screens, loose soffits, openings under doors, and cracks in the foundation. Mice can fit through surprisingly small gaps, so the search is detailed.
At the end, you should receive an explanation of what they found and a written plan. Ask for photos, especially of areas you cannot easily see yourself, like the far corners of the attic.
Be ready to share what you have noticed yourself, such as where you hear scratching and at what time of night.
Why does trapping usually come before cleanup?
Cleaning an attic while rodents are still living in it does not accomplish much. New droppings will appear within days, and animals may nest in whatever insulation remains. So most providers start by reducing the active population, usually with traps placed along runways and near nesting areas.
Trapping may take several visits over a week or two. Technicians check traps, remove captured rodents, and reset as needed. They are also watching for signs that activity is slowing down, which tells them when it is reasonable to move on to exclusion and cleanup.
If you already work with a pest control company, ask whether they can coordinate with the remediation crew so the schedules line up.
You may be asked to help during this stage by removing pet food left out overnight, storing pantry items in sealed containers, and clearing clutter near walls so traps can be placed along the paths rodents actually use. These small steps can shorten the trapping phase noticeably.
Exclusion work
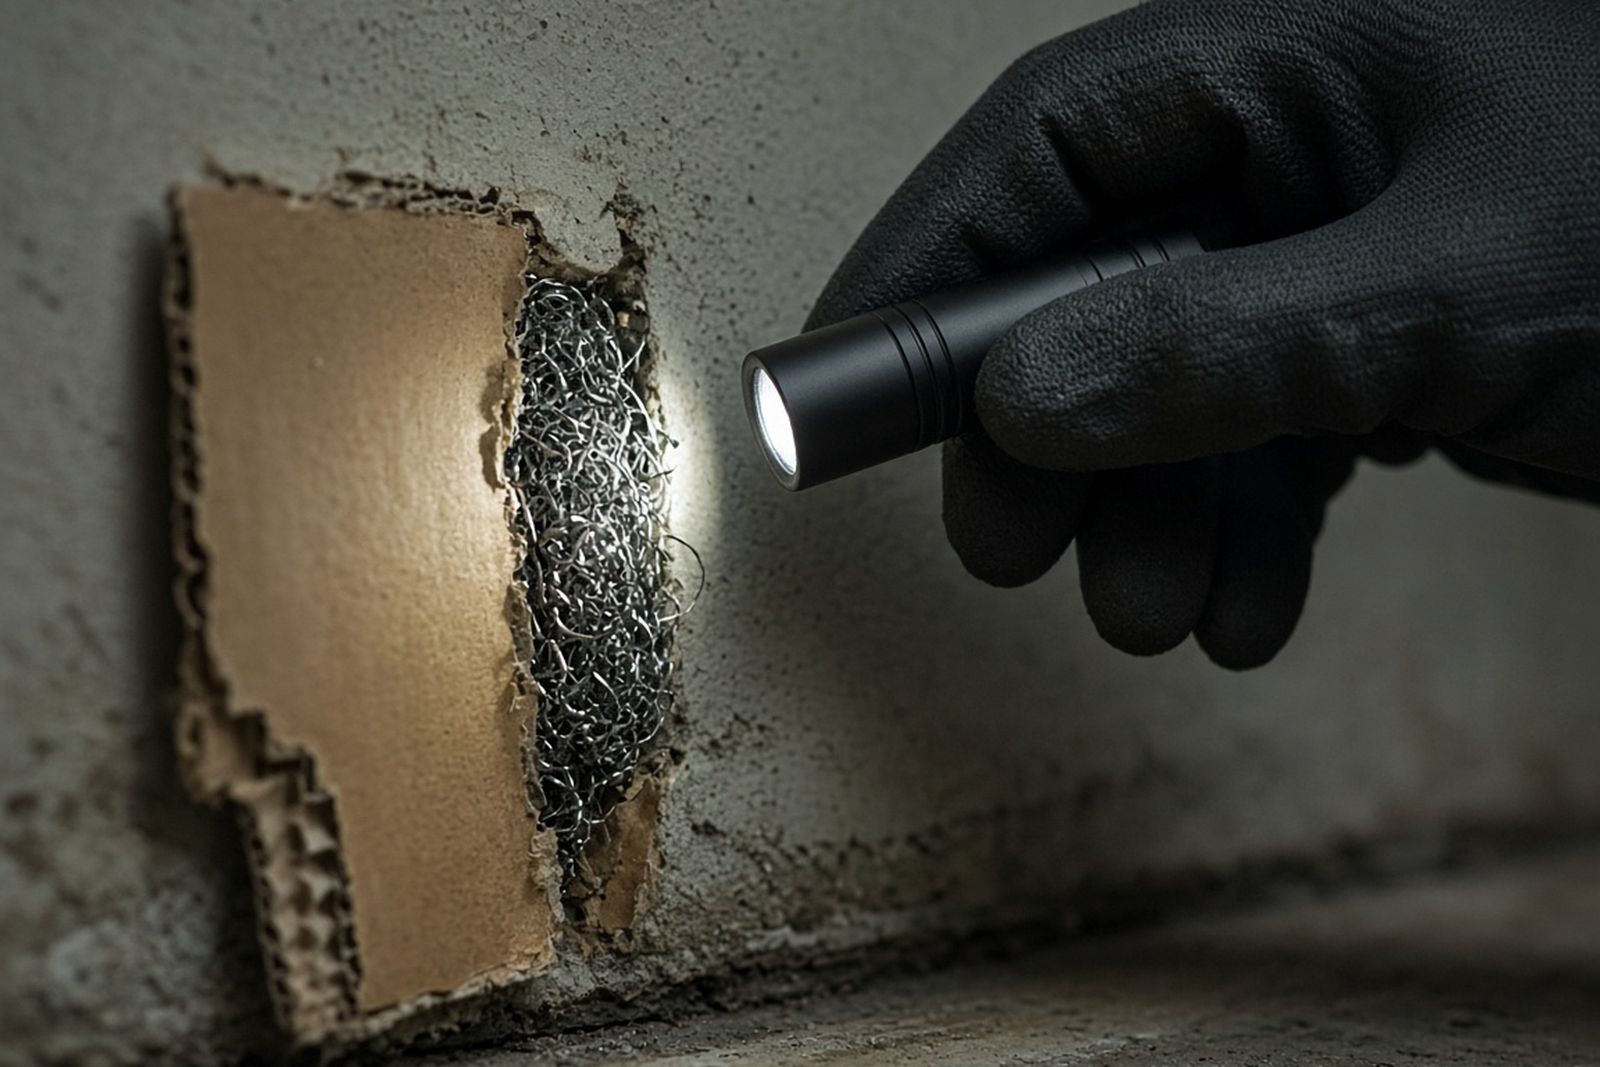
Exclusion is sealing the gaps rodents use to get in. It is the step that keeps the problem from coming back, and it is worth understanding what good exclusion looks like. Technicians use materials rodents cannot chew through, such as steel mesh, hardware cloth, sheet metal flashing, and specialized sealants. Expanding foam alone is not enough, because rodents chew through it easily.
Common exclusion points include gaps where utility lines enter the house, attic and foundation vents, the joint between the roof and fascia, garage door seals, and openings around air conditioning lines. On some homes, there are dozens of small gaps; on others, a single large opening explains most of the activity.
Some providers use one-way doors on a main entry point to let rodents leave but not return, then seal the opening once activity stops.
Ask to see photos of each sealed point once the work is done.
- Steel mesh or hardware cloth over vents and larger openings.
- Metal flashing along rooflines and fascia gaps.
- Rodent-resistant sealants around pipes and wires.
- Door sweeps and garage door seal replacements.
Setup, then the wet cleanup
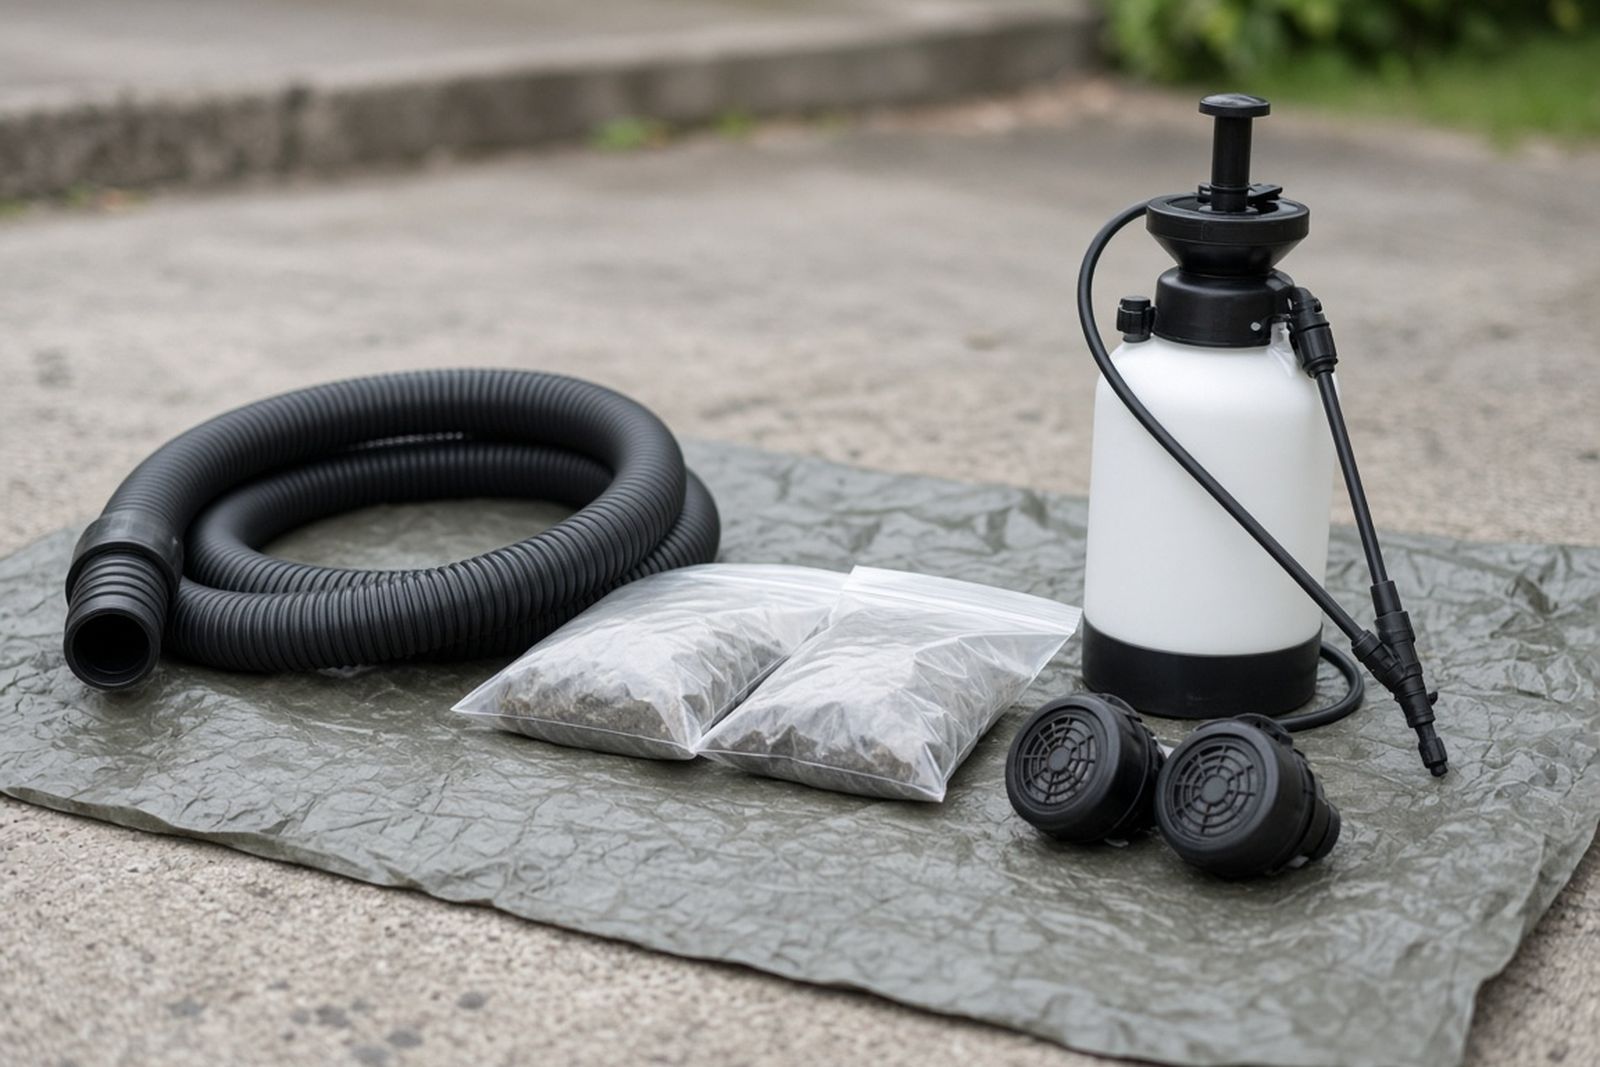
Before anyone touches droppings, the crew prepares the space. That starts with ventilation: doors and windows are opened and the space is left to air out before work begins, with fans or air movers added where airflow is limited.
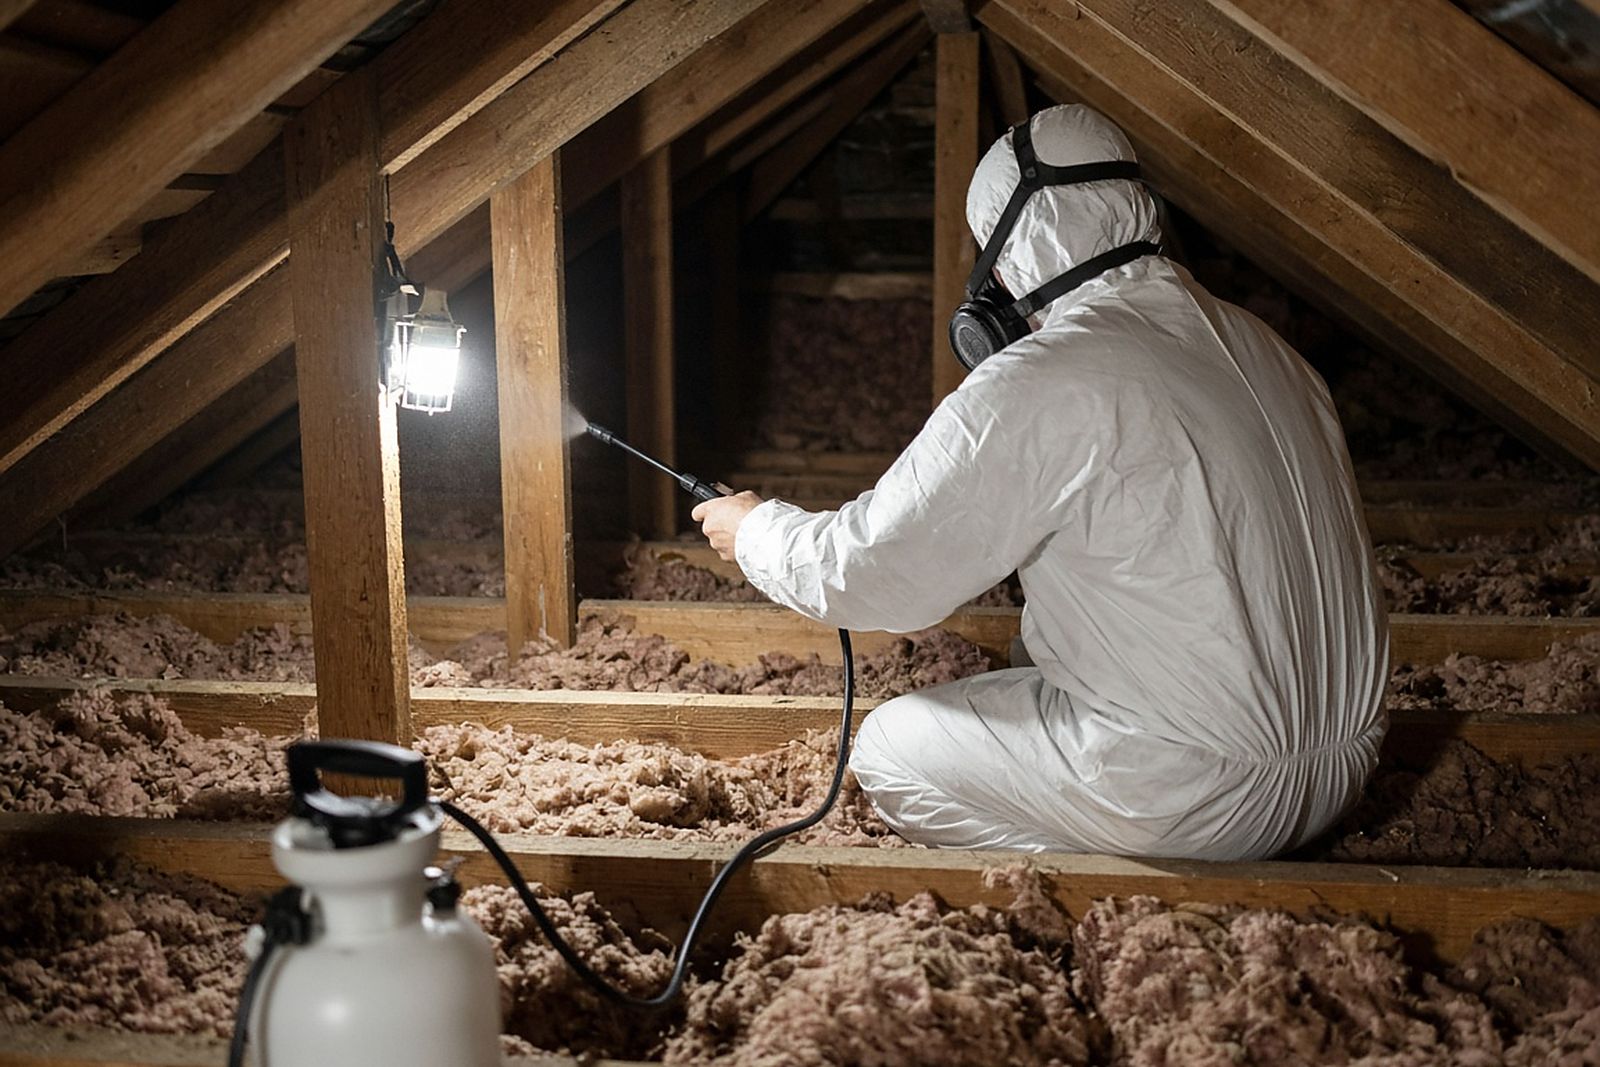
Crews also wear protective equipment. For heavy infestations, expect half-mask air-purifying respirators with HEPA filters, plus coveralls, rubber boots, goggles, and gloves, especially in attics and crawlspaces.
If the job involves removing insulation, the crew may set up plastic sheeting around the attic hatch and along the path to the exit, so dust and debris do not spread into living areas. Expect them to ask you to keep children and pets away from those areas during the work.
The core rule is simple: wet it down first. Crews spray droppings, urine spots, and nesting material with a bleach solution or a registered disinfectant and let it soak for the full contact time before touching anything. That soaking keeps particles from becoming airborne when the material is picked up.
After soaking, technicians pick up droppings and nesting material with paper towels or other disposable materials, and place them into sealed bags. Dead rodents are handled the same way. Crews do not sweep or use ordinary household vacuums on dry droppings, because that can put contaminated dust into the air.
Once visible material is removed, the underlying surfaces, such as attic floorboards, joists, shelving, and floors, are cleaned and disinfected again. In garages or basements, this may include stored boxes and items.
Stored belongings get their own attention. Plastic bins and hard items can be wiped with disinfectant and set aside. Cardboard boxes that rodents nested in or soaked with urine are usually bagged and discarded along with their packaging. If something inside a damaged box matters to you, ask the crew to pull it out, clean it if possible, and set it apart so you can decide later.
When does insulation need to come out?
If rodents have been living in attic insulation, the insulation is often too soiled to clean in place. Crews may recommend partial or full removal. Removal usually uses a powerful vacuum system that pulls insulation into large bags outside the house, reducing dust inside.
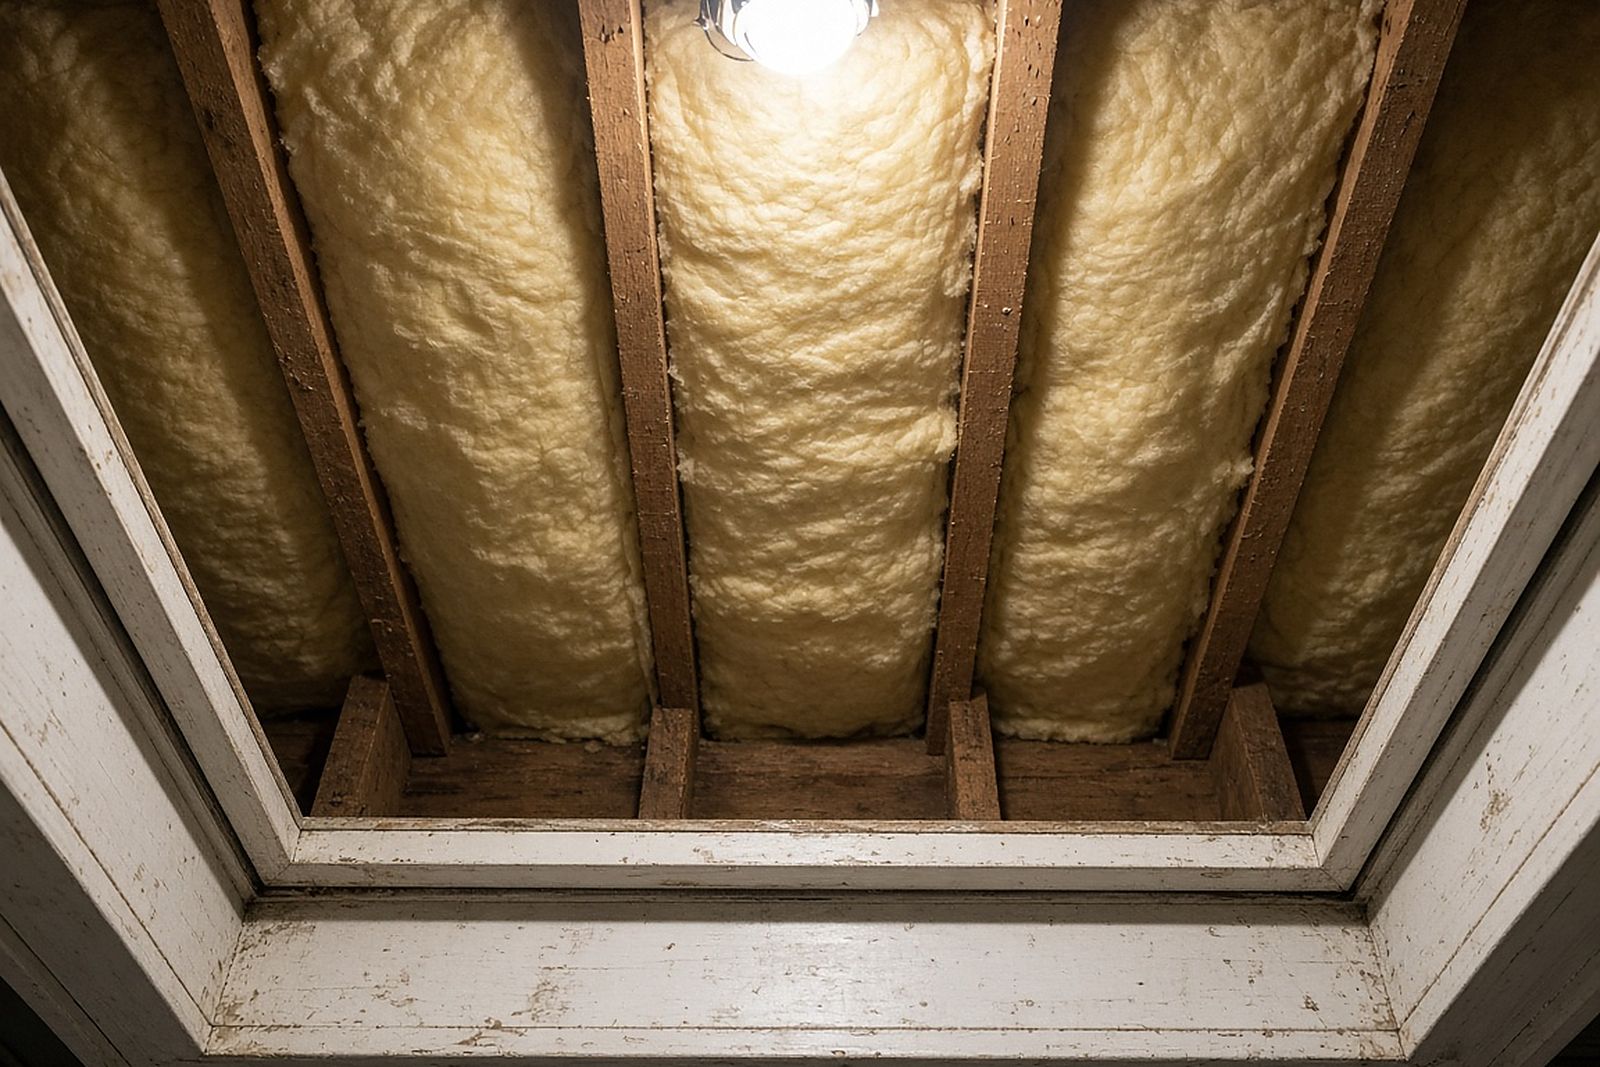
After removal, the attic floor and framing are cleaned and disinfected. Some crews also apply a deodorizer to address lingering urine odor. Only after exclusion is complete and the space is clean do they install new insulation.
Ask the crew to show you photos of the insulation before removal, so you can see why they made their recommendation. Partial removal may be possible if activity was limited to one section.
Expect insulation removal to be the noisiest and dustiest part of the job. A vacuum hose may run from the attic hatch or a gable vent to a truck or collection bags outside, and crews will move in and out for several hours. If anyone in the household has asthma or other breathing problems, it may be easier for them to spend that day elsewhere.
A seasonal cabin, start to finish
For a sense of how the steps fit together, take a seasonal cabin as an example; it is a typical case, not a specific client. Your family has a small cabin that sits closed from late fall to spring. When you open it in April, you find mouse droppings on the kitchen counters, shredded paper towels in a drawer, a nest under the bathroom sink, and a musty smell in the bedroom closet.
In this scenario, a remediation crew would likely start by ventilating the cabin and walking through each room. They would check under the cabin, around the foundation, and along the roofline for entry points. Traps would go down if there were signs of ongoing activity. Then, wearing respirators and gloves, the crew would soak and remove droppings and nesting material, clean and disinfect counters, drawers, cabinets, and floors, and bag soft items like curtains and bedding for laundering or disposal.
Before the crew leaves, they would seal the entry points they found and give you a list of what was done. They might also suggest storing food in sealed containers and closing up gaps before next winter.
The final walkthrough
When the work is complete, the lead technician should walk you through what was done: where rodents were getting in, what was sealed, what was removed, and what was cleaned. You should receive documentation, and many companies include a follow-up visit to confirm exclusion is holding.
- Photos of the attic, crawlspace, or rooms before and after cleanup.
- A list of sealed entry points and materials used.
- Details of insulation removed and replaced.
- Disinfectant products used.
- Warranty terms and follow-up schedule.
What should you watch for afterward?
After remediation, keep an eye out for new droppings, gnaw marks, or scratching sounds. A few stragglers are possible in the first weeks, but ongoing activity may mean an entry point was missed. Call the provider if you notice anything; most exclusion warranties cover a return visit.
Maintenance helps the exclusion work last. Keep firewood and dense vegetation away from the foundation, trim branches that touch the roof, and store birdseed, pet food, and garbage in sealed containers. Walk the outside of the house once each season to look for new gaps, especially after storms or any work by roofers, plumbers, or cable installers.
Also pay attention to your own health. If anyone in your household develops fever, muscle aches, or shortness of breath in the weeks after being around rodent droppings, contact a healthcare provider and tell them about the exposure. If a clinician confirms a rodent-borne illness, your local health department may have its own cleanup guidance to follow.