Short answer
Cleaning removes droppings, urine stains, nests, and dust, while disinfection kills germs that remain. In rodent remediation the two steps are interwoven: droppings are soaked with disinfectant first so they do not become airborne, then removed, then surfaces are cleaned and disinfected again. Skipping the first soak, or wiping before the label contact time, leaves the job incomplete.
Cleaning vs disinfection: what each step does
In most cleaning jobs, you clean first and disinfect second. You wipe away grime so the disinfectant can reach the surface, then apply the product and let it work. Rodent droppings flip part of that order, and understanding why is the key to doing the job safely.
Dried droppings, urine, and nesting material can crumble into fine dust when disturbed. If a virus such as hantavirus is present, that dust is how it reaches the lungs. So the first goal is not to remove the material. It is to keep it from becoming airborne while you remove it.
That is why rodent cleanup starts with disinfection, moves to removal, and then returns to cleaning and disinfection of the underlying surfaces. Each step does something different, and none of them substitutes for another.
Cleaning is the physical part of the job. It removes droppings, nests, stains, hair, and dust, usually with disposable towels, detergent, water, and sometimes scrubbing. Cleaning reduces germs by taking away the material they live in, and it removes allergens that disinfectants alone would leave behind.
Disinfection is the chemical part. An EPA-registered disinfectant, or a properly diluted bleach solution where appropriate, kills viruses and bacteria on a surface when used according to its directions. It does not remove anything. A disinfected dropping is still a dropping, and it still contains allergenic proteins.
Both matter in rodent work. Disinfection makes the material safer to handle. Cleaning gets it out of the house. A final round of cleaning and disinfection treats the surfaces that were underneath.
- Cleaning: removes droppings, nests, stains, allergens, and dust.
- Disinfection: kills germs on surfaces when label directions are followed.
- Removal and disposal: gets contaminated material out of the building.
- Exclusion: keeps new rodents from starting the cycle again.
What is the correct sequence for droppings and urine?
Public health guidance lays out a clear order, and professional crews build on it for larger jobs. It begins before anyone touches a dropping. CDC advises opening doors and windows and leaving the area for 30 minutes to ventilate a home or outbuilding before cleaning up rodent droppings.
Next comes the soak. According to CDC's 2024 guidance, droppings and urine should be sprayed with a solution of 1 part bleach to 9 parts water, which works out to 1.5 cups per gallon, or with an EPA-registered disinfectant, and left to soak for 5 minutes. Only then is the wet material picked up with paper towels or disposable cloths and bagged.
After the material is gone, the surface underneath is cleaned and disinfected again. That second pass addresses residue and staining that the first soak loosened but did not lift. For the bagged waste itself, your city or county solid waste office can confirm whether it goes out with household trash.
- Ventilate the space before entering.
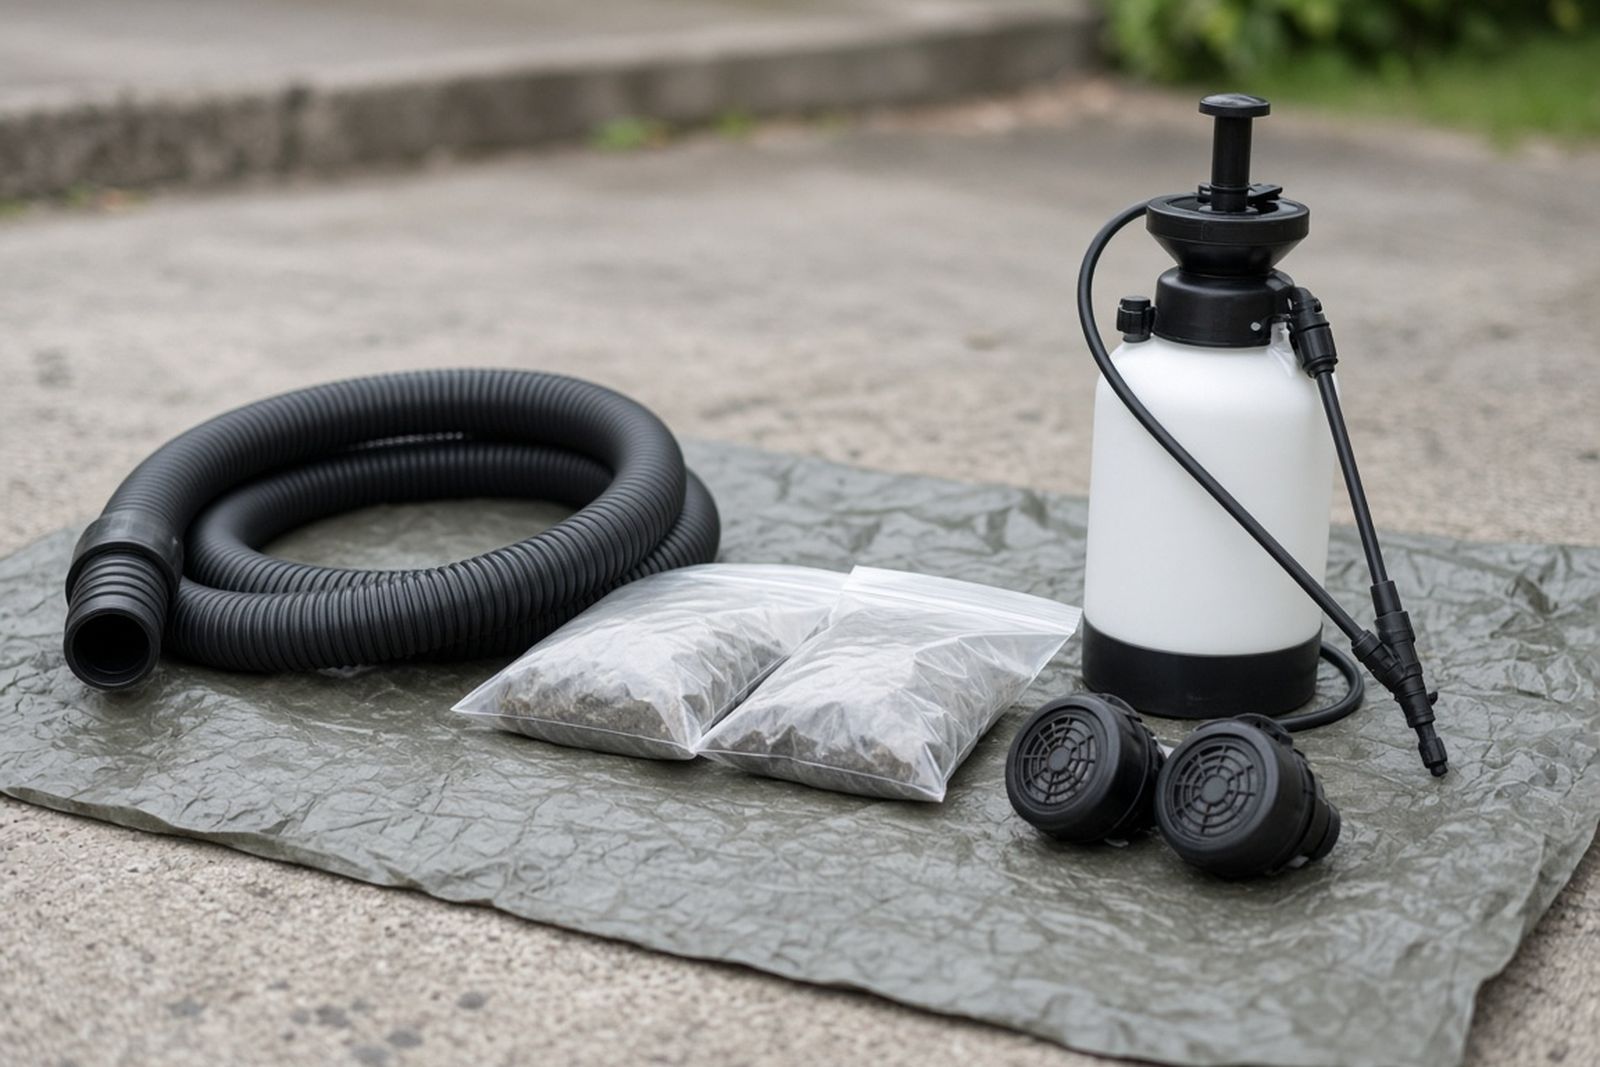
- Put on gloves and appropriate protective equipment.
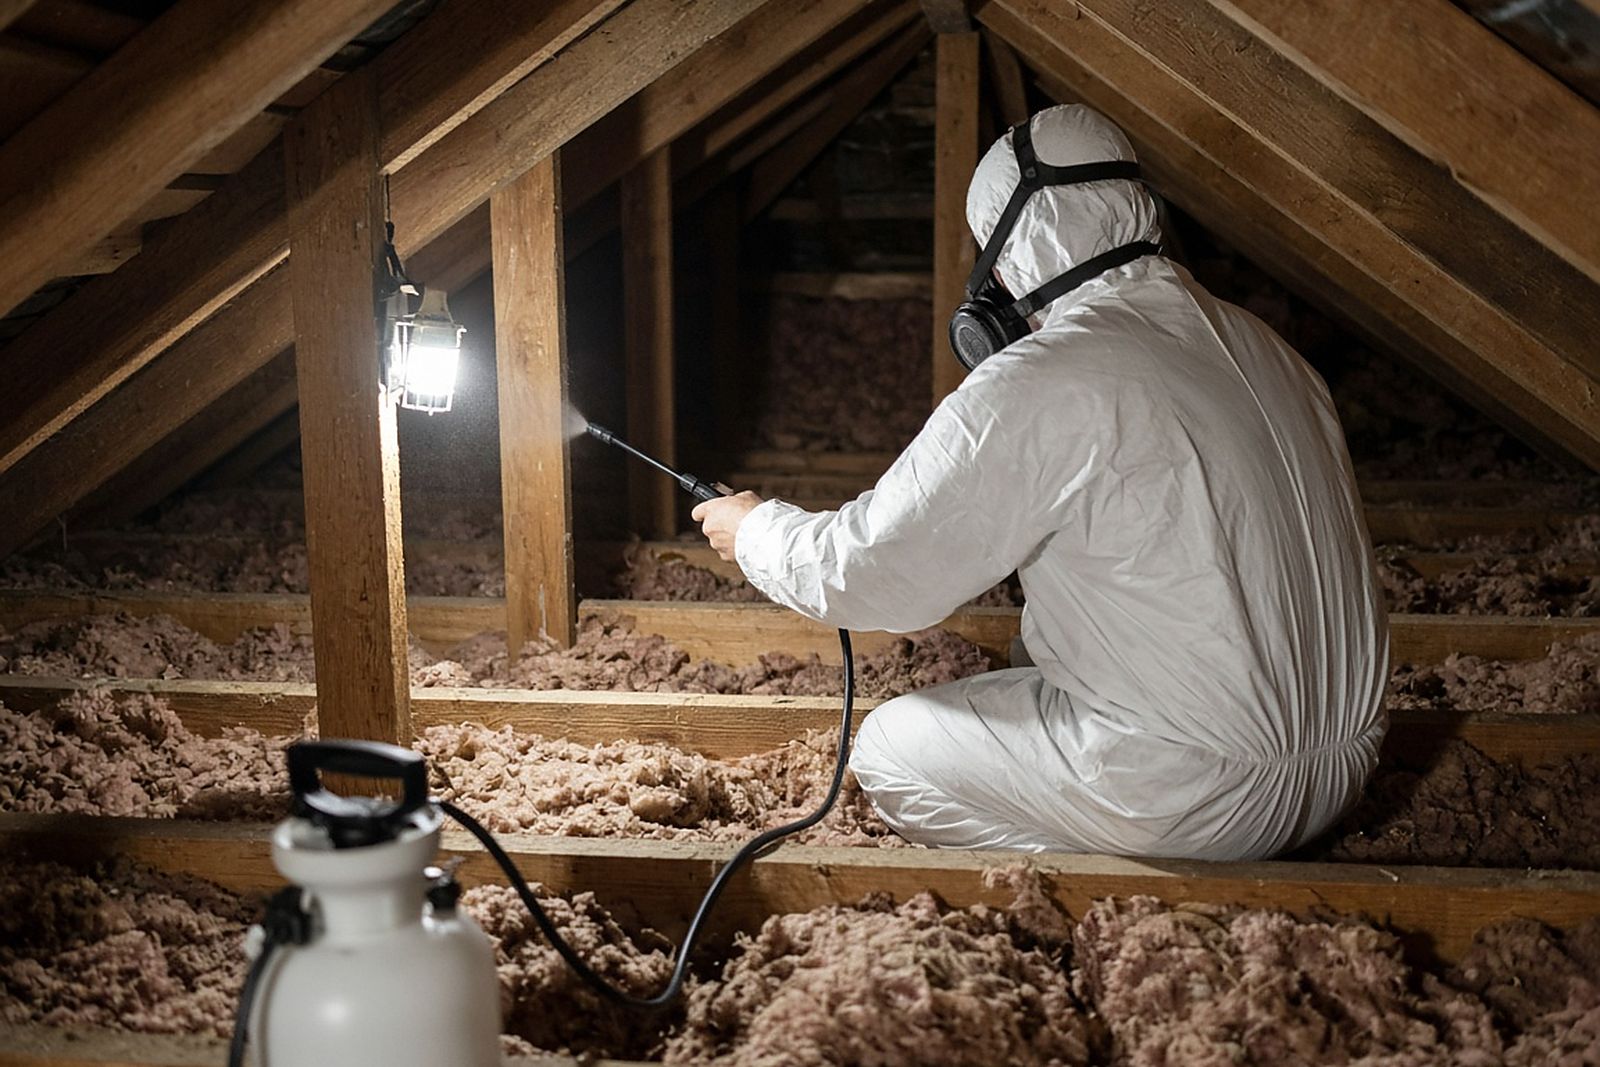
- Wet droppings, urine, and nests thoroughly with disinfectant.
- Wait for the full soak or contact time.
- Pick up wet material with disposable towels and bag it.
- Clean the surface underneath with detergent or cleaner.
- Disinfect the surface again and let it stay wet for the label contact time.
- Remove gloves carefully and wash hands thoroughly.
Why does contact time matter so much?
Every disinfectant needs time to work. The label lists a contact time, which is how long the surface or material must stay visibly wet for the product to kill the organisms it claims to. If you spray and wipe immediately, you are mostly just moving wet germs around.
Contact time is easy to overlook in a hot attic where products evaporate quickly, or on porous wood that soaks up liquid. Professional crews watch for surfaces drying early and reapply when needed. They also choose products suited to the materials in the space, since some disinfectants can damage finishes or metals.
Dilution matters as well. A bleach solution that is too weak may not work, and one that is too strong can irritate lungs and damage surfaces without improving results. Measuring carefully, and never mixing bleach with ammonia or other cleaners, is part of doing the job correctly.
Sweeping and vacuuming are never the cleaning step
It is tempting to think that sweeping or vacuuming counts as cleaning, especially for scattered droppings on a garage floor. With rodent waste, it does the opposite of what you want. Brooms and ordinary vacuums break up dry droppings and blow fine particles into the air.
The cleaning step in rodent remediation is wet, not dry. Material is soaked first and then wiped or picked up. Some professional crews use HEPA-filtered vacuums for dust that remains after wet removal, within a contained area, but that is a finishing technique for specialists, not a shortcut around wetting.
If you have already swept up droppings before learning this, do not panic. Ventilate the area, avoid further dry cleaning, and mention the exposure to a healthcare provider if anyone develops fever, aches, or breathing problems in the weeks that follow.
How long can contamination stay active?
People often assume that old droppings are harmless because they look dry and dusty. The reality depends on conditions. The Center for Food Security and Public Health at Iowa State University noted in 2018 that hantaviruses can remain infectious in the environment for a few days to several weeks at room temperature, depending on humidity, organic matter, and sunlight.
That range is one reason disinfection comes first regardless of how old the droppings appear. It also explains why dark, sheltered spaces such as attics, crawlspaces, and closed sheds deserve careful handling even after rodents seem to be gone.
Allergens behave differently. They do not need to be alive to cause reactions, so disinfection does nothing to reduce them. Only thorough physical cleaning and removal of soiled materials lowers allergen levels, which is why the cleaning step can never be skipped.
Materials that cannot be disinfected
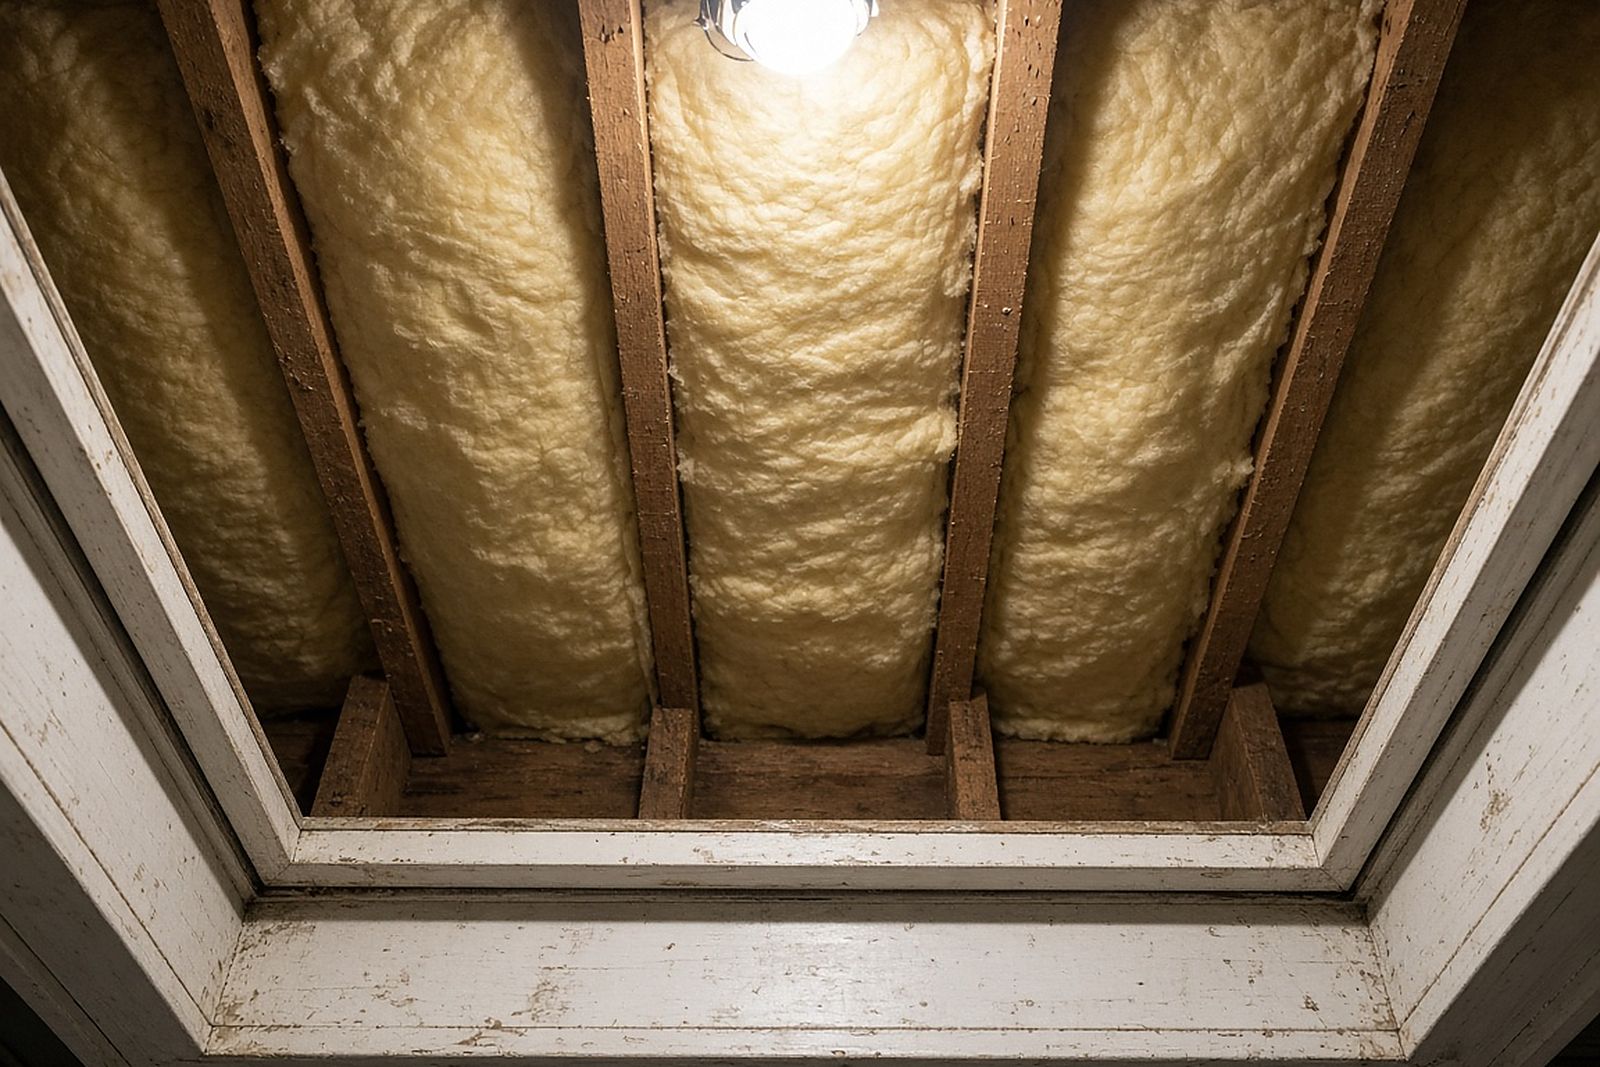
Some contaminated items are too porous or too soaked to clean effectively. Insulation is the most common example. Once it holds urine, droppings, and nesting material, there is no practical way to disinfect it all the way through.
In those cases, removal replaces cleaning. Crews bag heavily soiled insulation in place, carry it out without dragging it through living areas, and then clean and disinfect the framing and decking underneath before any new material goes in.
Other porous items, such as cardboard boxes, upholstered furniture, and stored fabrics, may also need to be discarded if they are heavily contaminated. Items that can be laundered in hot water or cleaned with appropriate products may be salvageable. A good provider walks through these decisions with you instead of making them silently.
Hard items in storage, such as plastic bins, tools, and glass jars, usually clean up well. Wet the droppings on them first, wipe them off, wash with detergent, and then disinfect. Books, papers, and photographs are harder, and for sentimental items it may be worth asking a restoration specialist before deciding.
How can you tell if a provider understands the difference?
The sequence stays the same from a pantry shelf to an attic; what changes is the protection around it. On an open shelf, gloves, a properly diluted bleach solution, the full soak, paper towels, a detergent wash and a second disinfection are enough. In a soiled attic above the same kitchen, a crew should describe containment at the hatch, HEPA-filtered respirators, bagging of the most soiled insulation, cleaning and disinfecting of the joists, and a written record of the product and contact time.
Ask a company to walk you through its process from start to finish. Listen for ventilation, a disinfectant soak before removal, wet pickup, bagging at the source, cleaning of underlying surfaces, a second disinfection with a stated contact time, and a plan for porous materials.
If the explanation starts with a vacuum, or ends with a fogging machine and no mention of physical removal, keep asking questions. Fogging does not lift droppings off a surface, and it does not remove allergens.
A provider who can explain why each step exists, not just what it is, is the one most likely to leave your home both clean and safer.
You can also ask what the crew does between rooms or between jobs. Changing gloves, cleaning tools, and bagging used towels before moving on keeps a careful process from spreading contamination to spaces that were clean to begin with.